© 2022 Jürgen Schaetzke EDV Beratung & Programmierung
Terms & Conditions Privacy Imprint License Contact Partner links Cancel MyCommerce Abo

Cutting out with icons
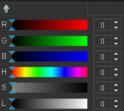
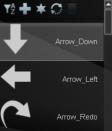
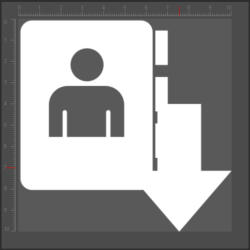
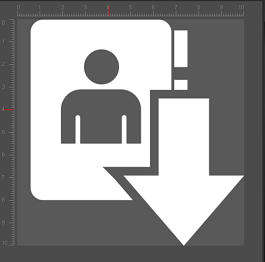
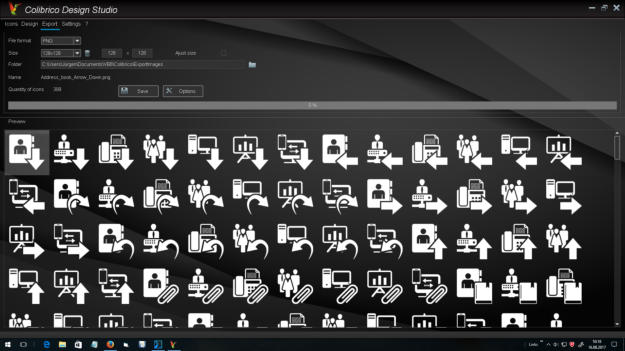
Procedure 1. Select the desired icons from the "Icons" selection window 2. Change to the design area 3. If necessary, select a color for black symbols from the color schemes An individual color can be adjusted using the color sliders or by entering a HEX value 4. Optional: Go to the export area to save only the basic graphics 5. Position the graphics with the quadrants in the upper left corner 6. Scale the graphics with the slider to the desired size for example 80% 7. Select the Shapes folder 8. Double-click an icon in the overlay list 9. Position the graphic with the quadrants at the bottom right 10. Scale the graphics with the slider to the desired size for example 60% 11. Set the color for the overlay graphic 12. If you want to use all overlays, click the "Overlay selection" button when the overlay layer is activated. 13. Activate the layer with the basic graphics (Icon Selection) 14. Click on the button "Clip mit Icon" 15. Select the overlay in the selection list (in this example Arrow_Down) 16. Additionally, you can set the distance (offset) to the base graphics 17. Go to the export area to save the graphics. All combinations are created automatically by Colibrico. The icon set and the settings can be saved as a template in the design area. Saving as a template allows you to recall Icon Set at any time to expand it, to change colors or to export additional sizes.


© 2022 Jürgen Schaetzke EDV Beratung & Programmierung
Terms & Conditions Privacy Imprint License Contact Cancel MyCommerce Abo


